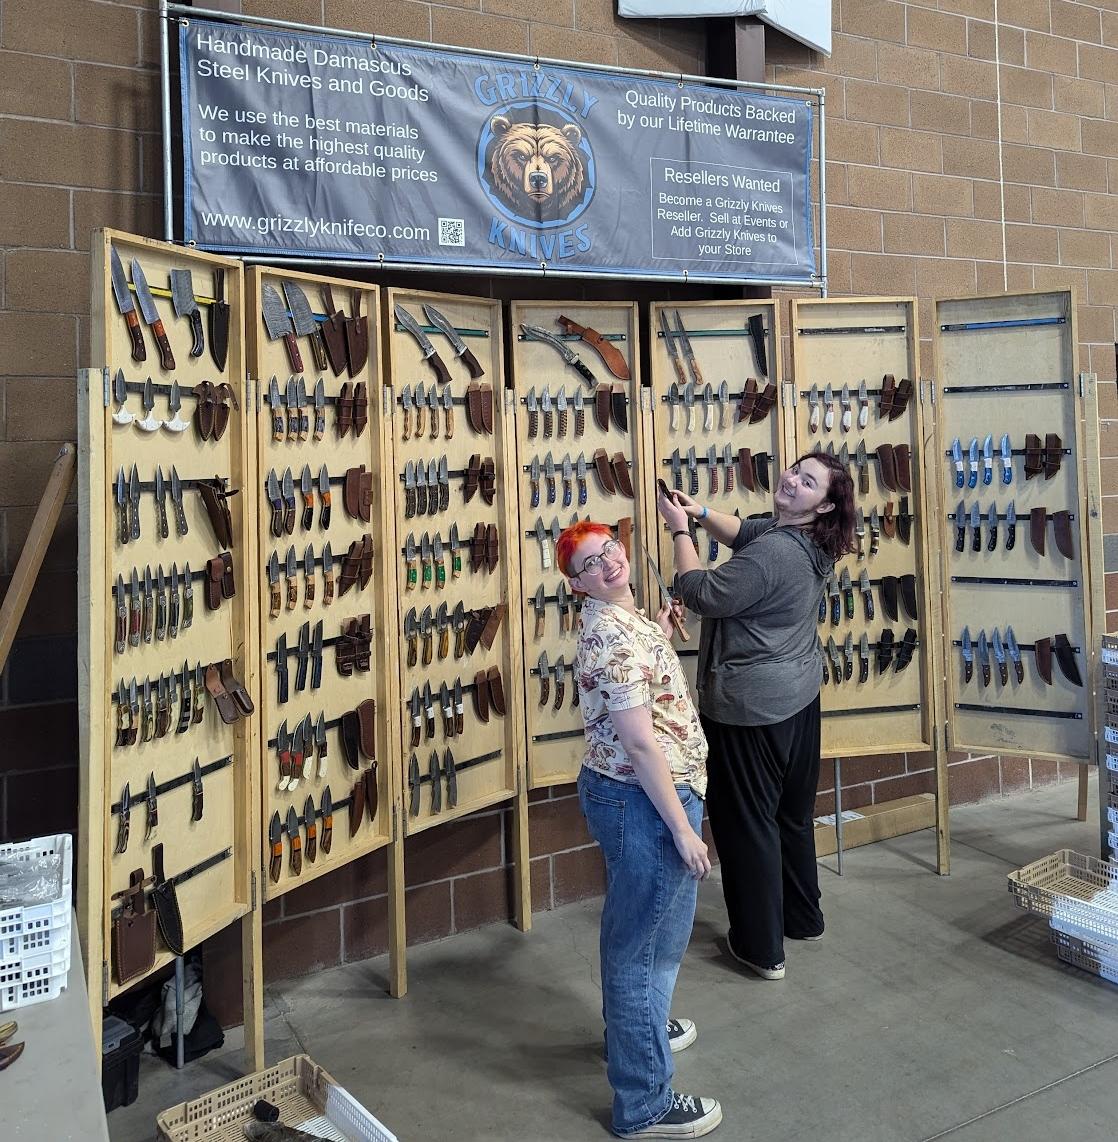
The Big Display
Difficulty: Medium+ to Advanced
This article is intended to inspire ideas and is not an engineered design. Those who follow these instructions should seek the help of a professional and do so at their own risk.
The big display and variations of it is easy to assemble and gives a lot of options to us as resellers. It can be adapted to form a curve where it gains stability from the arc or it be straight, making it easy to assemble and lean against a wall. The number of panels can be increased / decreased to accommodate the venue space, and it can be modified to meet your own needs and ability to transport them.
The panels are secured together using hinges where removing the pins allows for quick assembly / disassembly. The length of the “legs” can be modified to suit the user. Adjustable feet may be added.
This display was built without extended legs. It is shown in its “overnight” position. Because of the hinges, the display can be pulled into a circle with the knives still on the magnets. By adding a little locking hardware, inventory is easily secured during multi-day events.

In the material list below, if the quantity says, "2 or 1", two are required for the first panel made and only one is needed for any additional panels
Material List (per panel)
· 21" x 72" 3/8 sanded plywood
· (2) 21" 1 x 2 lumber – top / bottom of frame
· (2) 69" 1 x 2 lumber – sides of frame
· (6) magnet strips
· (4) 3” hinges
· (2 or 1) 72" 2 x 2 lumber - legs
· (2 or 1) 72" 2 x 3 lumber - bracing
· (2 or 1) stand hardware
· screws
· wood glue
· ½” EMT (metal pipe used in electrical work)
Instructions:
1. Cut all pieces of lumber to the indicated dimensions
2. Make a box frame from the two 21” pieces and two 69” pieces. Use wood glue and pre-drill to secure with screws or dowls. Ensure that the overall dimensions are 21” x 72”.
3. Secure the 3/8” sanded plywood to the frame, using wood glue and brad nails. Make sure the frame is perfectly square and matches the plywood with even, well fitting edges.
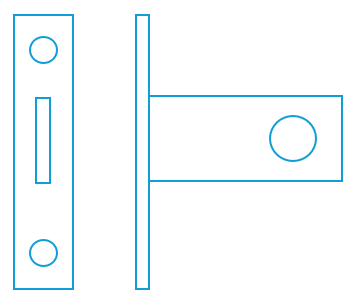
4. Disassemble the hinges by removing the pins. If there is any kind of silicon lubricant on the pins / hinges, clean them thoroughly with a solvent. Take note that one side of the hinge will have three loops, and the other side will only have two.
5. Attach the three loop sections to the panel, mounting two at what will be the bottom and the other two about four feet from that end. Hinges may be recessed into the frame but it is not necessary.
a. IMPORTANT #1: This is where you will determine how far your panels will be off of the ground. With the second set of hinges at four feet from the bottom of the panel, the panel will end up being about two feet off of the ground (five feet from the bottom would result in the panel only being one foot off of the ground).
b. IMPORTANT #2: When securing the hinges with screws, pre-drill the holes but make sure the holes are the appropriate size for the screws being used.
c. IMPORTANT #3: Do not tighten the screws all the way. Because the display will get bumped and will shift during transportation, you want the hinge to be able to move, making it easier to join the hinges together during assembly on site.
6. Use a grinder on the two loop hinge sections to “open up” the spacing of the hinges. This makes assembly much easier.

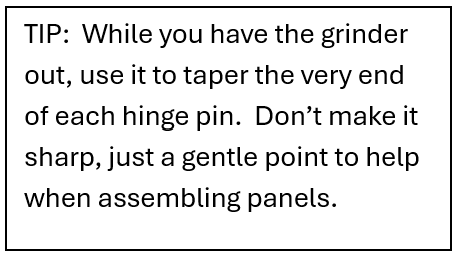
a. Even with the hinge opened up, it’s good to keep a hammer on hand when assembling the panels to help tap the hinges into place.
7. Install one, two loop hinge section at the end of each of the 2 x 2 leg poles. Pay attention to which side of the pole the hinge needs to be mounted on.
8. Assemble the leg to the panel using the hinge pin, putting the leg pole hinge with the panel hinge which isn’t at the bottom of the panel.
a. 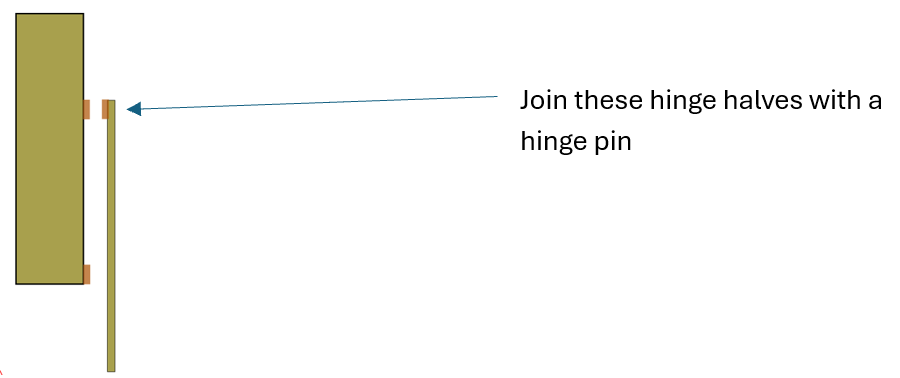
b. Once the hinge is secure with the pin, take a loose two loop hinge and mate it with the hinge at the bottom of the panel. This will allow you mark the exact location to mount the lower hinge to the leg pole.
c. IMPORTANT: number the back side of each panel and leg pole. As much as you try to make it perfect, there will be slight differences in the spacing of the hinges. Do yourself a favor and make sure the same hinge halves will be put together each time.
9. For the first panel, you will need to make two legs. The leg which will be on the end (far left or right) will only get two, two loop hinges where all of the others will get four.
10. Wind protection / stabilization
a. IMPORTANT **** YOU MUST protect yourself from the liability, headache, and embarrassment of having your display fall over. The weight of the knives will help to secure the display, but only if its setup well. If the display is to be leaned against a wall, ensure that the display has a proper angle to assure it wont be pulled forward, away from the wall when it is loaded. When the display is set up on a curve, without the support of a wall, ensure it has enough curve to support itself AND provide additional support legs and weights as needed.
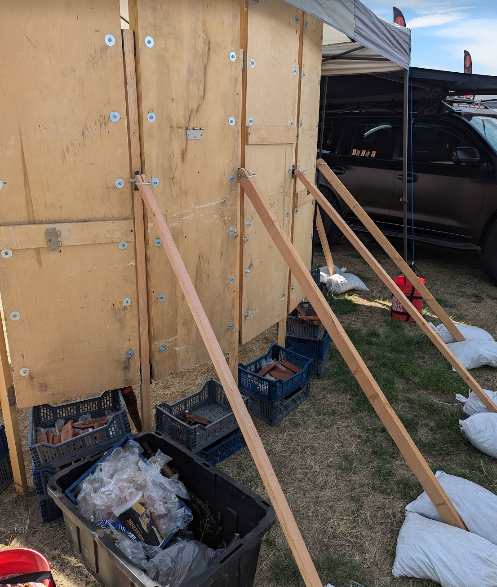
b. You can see above that supports are added by allowing a pivoting connection for the 2 x 3 lumber to connect to the 2 x 2 legs. Additionally, the 2 x 3 supports have a hole near the bottom which can be used to tie weights, or in this case, an 18” piece of EMT was passed through the hole and sandbags were placed on top of the conduit.
c. Pivoting hardware was custom made out of 3/16” plate steel for this simple application. The 2 x 3 supports were then pinned to the pivot, allowing for adjustments in the field:
11. Mount bar magnets with about 9” between bars, using construction adhesive and / or screws. Note: Construction adhesive is an excellent solution which eliminates the need to use bolts which stick through the back (and damage other panels during transportation)
12. Repeat and make as many panels as needed.